It's DONE! (I know, you're like what's done?) And it's been done for a few days now... I'm behind in my blogging... sorry about that!
I spent the bulk of Friday afternoon and basically the entire day Saturday PAINTING WALLPAPER onto my blue/aqua wall!
And I think it looks spectacular!
Here's how I did it...
Like I said last time, I got the idea by trolling through random people's pinterest pages and then googling "painted wall paper." I found out that it's pretty impossible to find any real useful websites that tell you how to do this, but thankfully I came across the
Jones Design Company's website which was literally a godsend.
Jones Design Company has a
tutorial (and free template!) for painting a medallion design that I really liked, so I settled on that.
Day One: Tracing!
The first step was to make the template. I printed out JDC's template on paper and then traced/cut out a cardboard version. I made a cardboard version of half the template too.
Then, I started tracing. And tracing. And tracing. I found (and it could be different for you) that it worked well to start at the top left corner of the wall and put the template flush with the ceiling and about 1/2 an inch from the edge of the wall. In hindsight, I would have spaced it a little farther over, because I'd have liked to have had room to do a double line on that side, but whatever.
After I traced the first medallion (put the very top flush with the ceiling), I measured 7.5 inches over and traced another one. Then, I measured 5 1/4 inches down from the ceiling and centered my template between the two medallions I had just drawn (you'll have about 1/2 an inch on either side of the top) and traced it again. From then on, I just kept tracing, referencing the medallions I'd already done for spacing (I put 1/2 an inch of space between each). It sounds super complicated, but it's really not once you get started.
I did not use a level, but trusted that by keeping with my 1/2 inch spacing and making sure that I always started my columns flush with the ceiling or 5 1/4 inches down, that things wouldn't get too wonky. It did get weird occasionally, but you can't really tell and I improvised while painting to make things look nice.
I kept tracing until I'd filled up the whole wall. When I'd done all I could do with the full sized template, I used the half template to fill in the holes at the top and bottom of the wall. It took me about 4 or 5 hours (including the time it took to figure out the spacing and stuff) to finish.
Then, I had a wall that looked like this.
At this point, I was tired and so was my arm, so I went to bed.
Day Two: Painting!
I did a practice run on cardboard to make sure I knew the right way to paint the lines... JDC does a great
tutorial on this. To get the double line effect I was going for, you basically paint around the inside of each medallion (rather than painting in between each one). I used a #4 shader paintbrush I bought at Michaels and a gray paint (Mickey's Shadow from Home Depot) that I thought matched my gray wall pretty well. Instead of getting a whole quart of paint, I bought a sample, which is a small container of flat paint that they tint to your color. Genius!
Then, it was time to do the real thing. It was terrifying. I decided to start the process in the spot that the large picture over my TV lives, since the picture would hide any rookie mistakes I might make while getting the hang of the process.
I think it looks really cool watching the design materialize from afar. Since you can't see the pencil lines, it kind of looks like I was free-handing it!
At this point, I think I texted my mom a picture of my progress and naively told her that I thought I'd be done in a few hours... Boy was I wrong!
All told, I think it took around
10 hours to paint the entire wall. (This does not include the 4-5 hours from the day before).
I thought my arms were going to fall off by the end and was probs a little high from paint fumes... Oh. And, I had huge rash (read: wall burn) on my forearm from moving my arm across the wall while painting. (it's almost gone now)
But I think the end result was completely worth it!
My lease is up at the end of the month and I think that if I had any doubts at all about staying here, this wall has sealed the deal for me. I'm definitely resigning my lease... and probably never moving again.
Coming soon: Pics of THE WALL (put back together and with pictures) and lots and lots of other fun projects I have up my sleeve!


 For the past few months I've been diligently searching Target for fun things to furnish my apartment... particularly things that were on clearance. I've found quite a few things, but this table (and more importantly what I did with it) is by far the coolest.
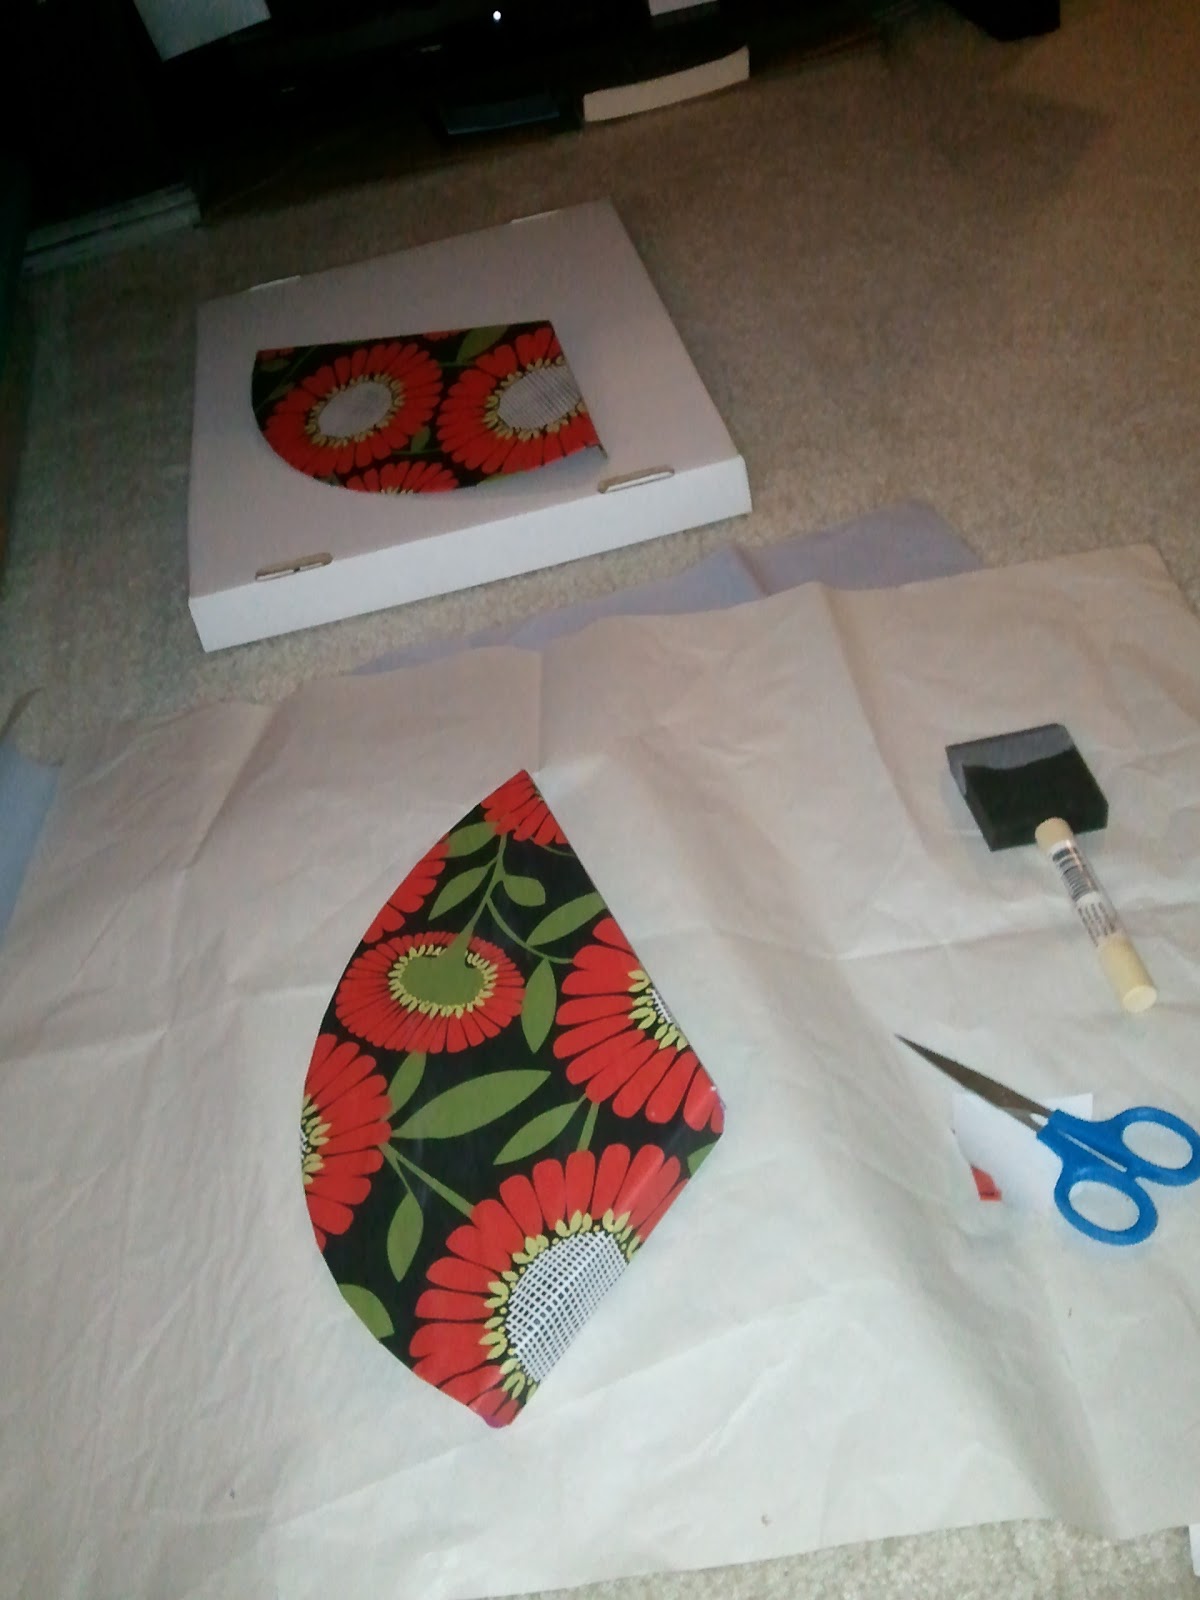
 A few weeks ago, I discovered this really cool store in Old Town called Paper Source. As the name suggests, it sells all kinds of paper products, including cards, calendars, and wrapping paper. Anyway, I went there looking for something to use to cover my light switches and outlet covers, when I found this amazing piece of paper. It was love at first sight. Unfortunately, the pattern on it was way to big to use on an (albeit slightly larger than normal) 3"x5" cover. But I was pretty sure that I would be able to use it somehow, so I bought it anyway. And I found some killer paper to use for my covers (you'll see that project soon!)

 plus this ☛


